Bentonite Clay Mask Recipe
This bentonite clay mask recipe is an easy DIY with incredible health benefits. Using a face mask will assist in preventing fine lines, wrinkles, clogged pores, and acne. Face masks have great benefit and making your own is the best way to insure only good quality, healthy ingredients are being put on your skin. Your skin will thank you!

Bentonite Clay Benefits
Bentonite clay is a volcanic ash. It acts sort of like a sponge to your skin. When you apply it, it soaks up the impurities and imperfections. Additionally bentonite clay has minerals such as calcium, iron, and magnesium that can benefit your skin as well.
We have a rule in our house that goes something like this, “if you can’t eat it, don’t put it on your skin!” Our skin is so absorbent and what we put on it will get absorbed into our bloodstream. This bentonite clay mask recipe passes our house rule. All of the ingredients are found in nature and are safe for the skin to absorb.
detoxing
The sponge like response from the clay can assist in removing toxins from your skin such as heavy metals. Any clay mask (bentonite, kaolin, green clay, etc) can be used for detoxing purposes.
If you are feeling a little adventurous or you are just super interested in detoxing heavy metals, applying the bentonite clay mask to your arm pits is also super beneficial, especially if you use deodorant with aluminum in it.
If you are using deodorant with aluminum because have not found a natural one that really works, try toups and co. deodorant. I have used it for years, I use the extra strength and it works just as good as store bought drug store stuff!
Anyway, back to the real purpose here, use this mask on your face and armpits as often as 2-3 times a week.
reduce clogged pores and oily skin
A clay mask like the bentonite clay mask will draw out those toxins deep in the pores which will help to dry up greasy skin. If you struggle with oily skin, try using the clay mask multiple times a week until your skin starts to show improvement.
creates soft and smooth skin instantly
After I used a bentonite clay mask for the first time, I was amazed at how tight and soft my skin instantly felt. When you give your skin tools to clear our toxins and impurities, it thanks you by giving you soft, revitalized skin!
Some skin types may not clear up imperfections instantly but you should start to instantly feel softer skin. The benefits of this mask come with consistency and persistence. After a few weeks of using the clay mask you should see improvements.

Bentonite Clay Mask – Ingredients
Making this clay mask is super easy! You only need 3 ingredients and you will never want a store bought mask again. You will need
- Bentonite Clay
- Organic Essential Oils
- Filtered Water
- Small bowl with a lid
- Spoon

bentonite clay
As previously mentioned, bentonite clay is the magic ingredient to this face mask. The bentonite clay is what provides the skin with nutrient rich minerals and draws out all of the impurities and toxins you want gone.
I get my bentonite clay in bulk from Essential Organics. Check out my recommended bulk food stores post for suggestions on where to buy clays, herbs, and more! We use bentonite clay to make face masks, bath bombs, and even just to detox after eating something our body did not like.
Even if you do not make the face mask, bentonite clay is always good to have on hand!
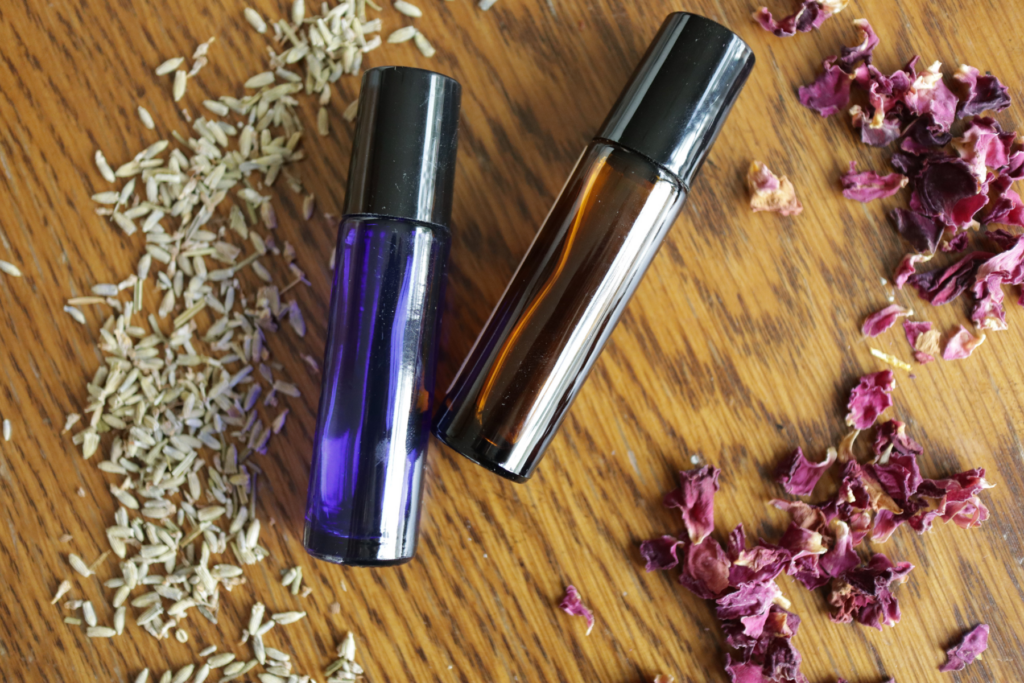
organic essential oils
Adding essential oils is one of my favorite parts of making the mask because it is totally customizable to what you need that day. I typically start with frankincense and maybe lavender.
Use essential oils that you would be confident in ingesting. Again, going back to the importance of caring for our bodies biggest organ, don’t use it if you wouldn’t eat it.
Some essential oils that are known for being beneficial for the skin are: lavender, frankincense, myrrh, rose, and tea tree oil. Any of those are a good place to start.
filtered water
A quick note on the water; you want to make sure to use filtered water because any chemicals in the water have the chance of canceling out all the great benefits of the clay and oils. Filtered water gives the bentonite clay and essential oils the ability to be effective without interference.
Instructions – Making the bentonite clay mask
- Place the bentonite clay and water into a bowl and mix with a spoon until not dry bits are left. Add water if needed.
- Drop 1-3 drops of essential oil into the bowl and mix again.
- Seal with a lid or use immediately.
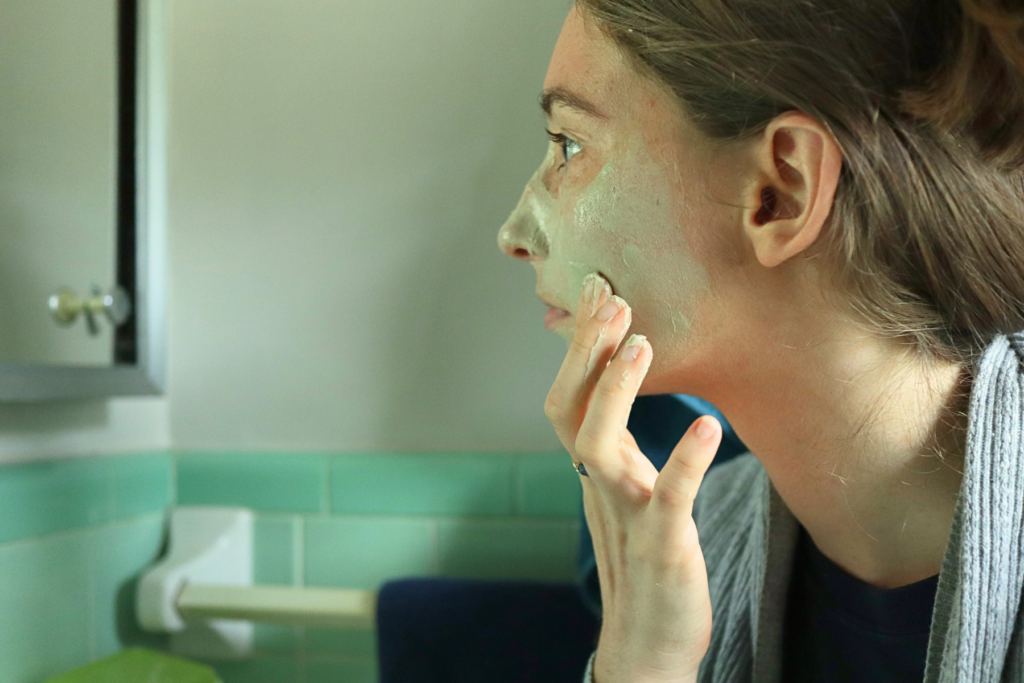
Using the mask
- Rinse and dry face before applying the mask
- Apply a thin layer of the bentonite clay mask to the face with clean hands.
- Let the mask set for 5-10 minutes
- After 5-10 minutes wash mask off with warm water. Use a hand towel if needed.
If you experience redness after removing the mask this is most likely your body’s detox method. Do not be alarmed, the redness should subside within a few minutes.
Do not use if you are allergic to any of the ingredients listed above.
Comment below what essential oils you are going to add to your mask.
Bentonite Clay Mask
Materials
- 1 tbsp bentonite clay
- 1 and 1/2 tbsp filtered water
- 3-5 drops essential oil
Instructions
- Mix bentonite clay and water until well combined. Add more water or clay until reaching desired consistency
- Add essential oil drops and mix again
- Store is a glass bowl with air tight lid